So, this may be the most addicting ice
cream topping a mocha lover will ever experience but...It was never intended to
be a syrup! No, no, one fateful night I
was inspired to make a mocha maca fudge but instead of hardening up like it was
supposed to, all I got was a syrupy mess. But when life gives you lemons, do we throw
them away? NO! I say we make lemonade (Or syrup. You know what I mean.) So now you know how this AMAZING recipe came about.
Enjoy and if you have any funny, happy
accident stories, we'd love for you to share them. Who knows, the best story might just win a
prize!
Here’s
what you'll need:
3
Cups Sugar
2/3
Cup Cacao Powder
¼
tsp Salt
1
½ Cup of Milk
4 tsp Instant espresso
½
tbsp Maca
¼
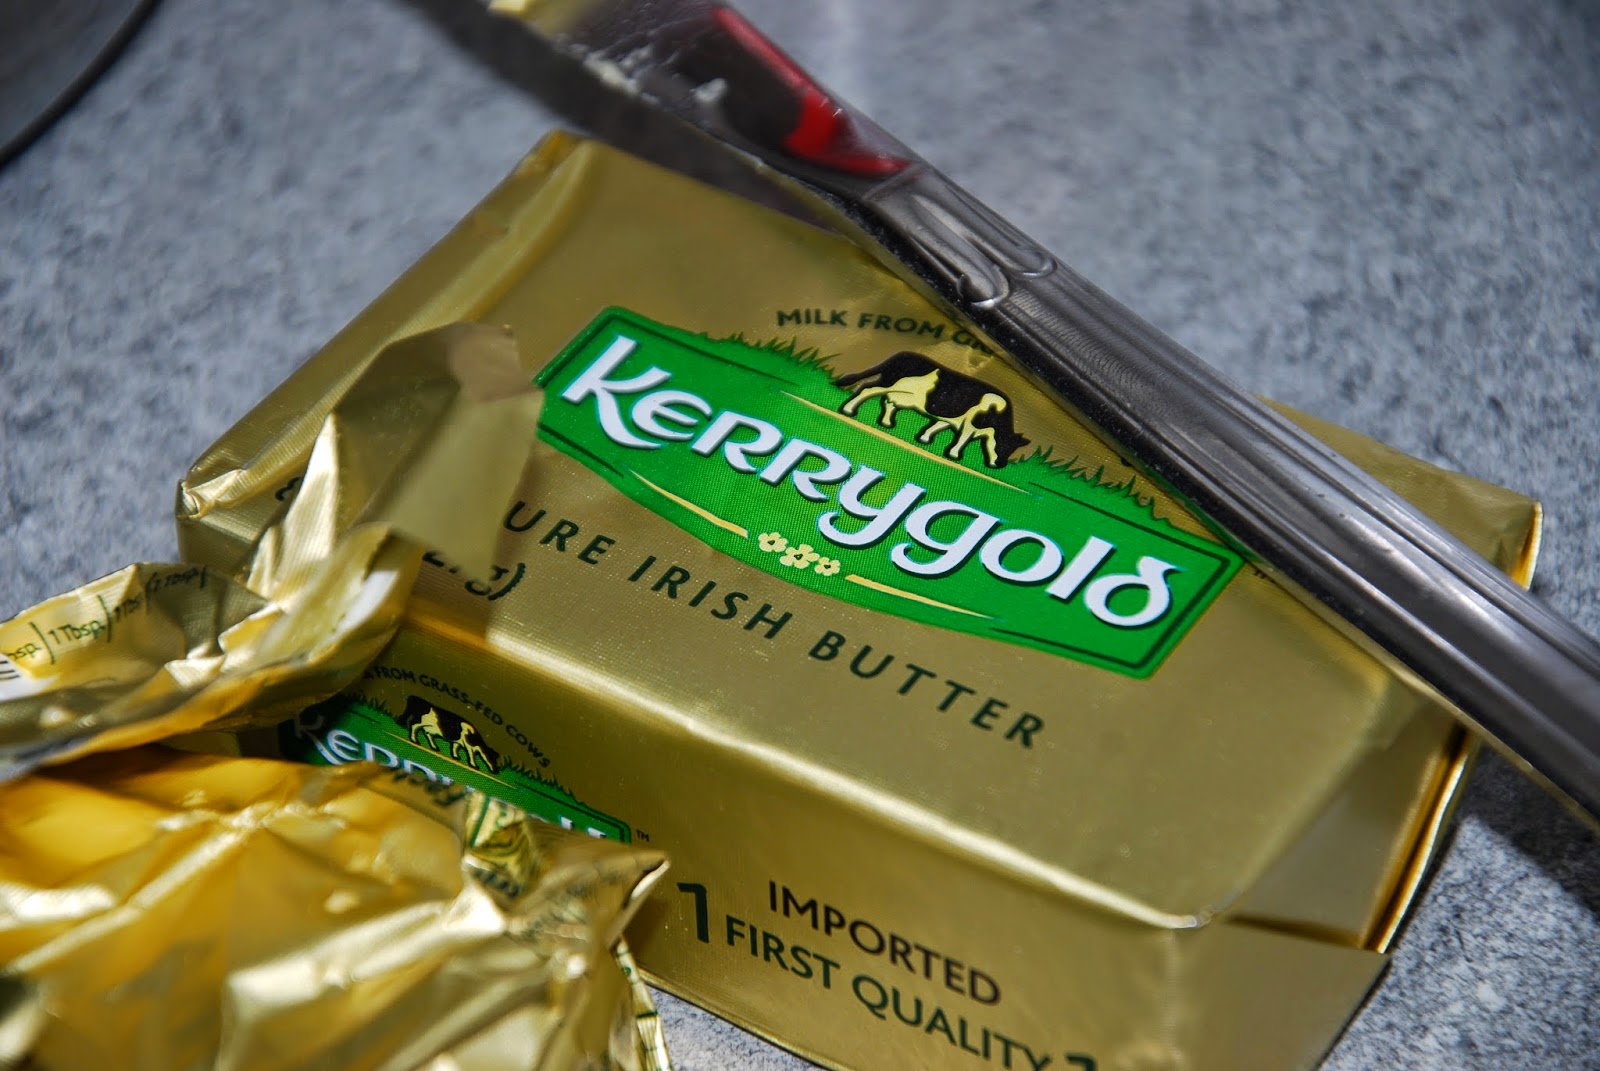
Butter
1
tsp Vanilla extract
 In a sauce pan over medium heat, bring
the sugar, cacao, salt, milk, espresso, and maca to a rolling boil. Allow to boil for about three minute before
removing from heat.
In a sauce pan over medium heat, bring
the sugar, cacao, salt, milk, espresso, and maca to a rolling boil. Allow to boil for about three minute before
removing from heat.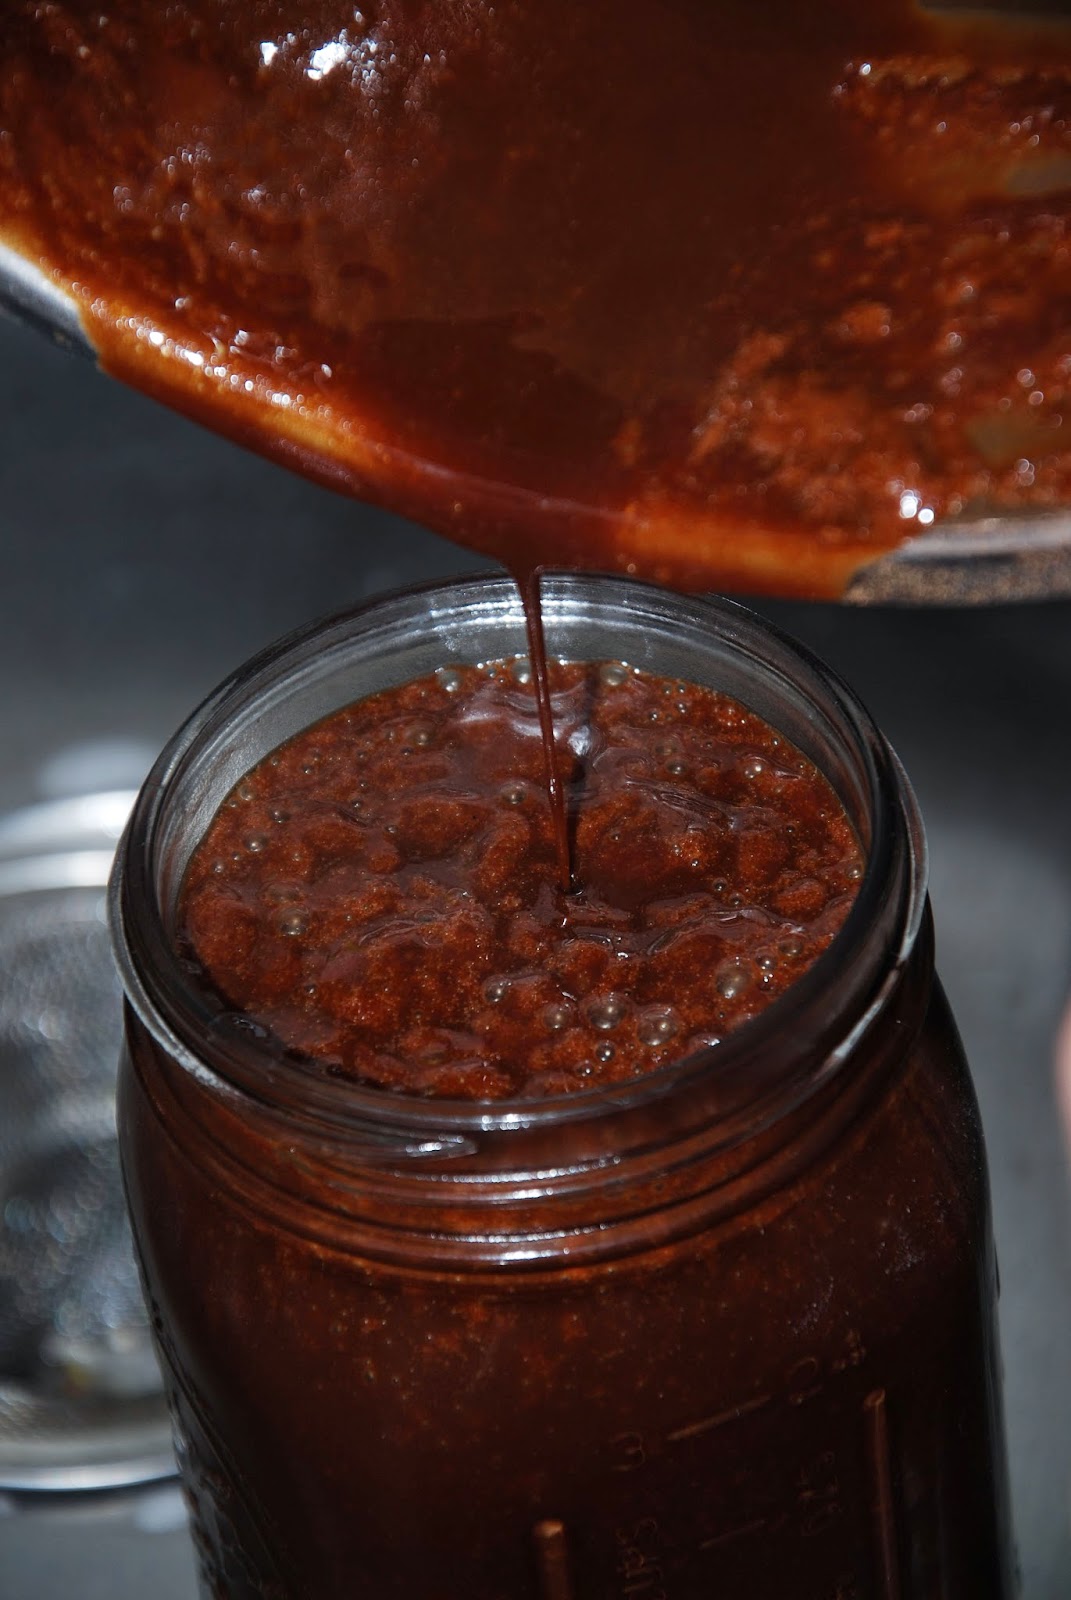
Now you have the most perfectly delicious
mocha ice cream topping EVER!!! The fact
that maca is a superfood rich is essential nutrients is a total bonus.
I
hope you enjoy!