Friday, November 7, 2014

Gluten-Free Snickerdoodle Cake

       I was inspired to make this snickerdoodle cake while working at my health food store last week.  Someone in the cafe started to simmer some butter and cinnamon and wow, the store smelled amazing.  I mean, it was like we were inside of a giant, warm, freshly-baked snickerdoodle (and who wouldn't want that?).  Then a thought came to me...wouldn't it be awesome if someone tried to make a snickerdoodle cake?   So then I said to myself, "Um, duh!  Why not me?"  And the rest is history.

 You'll need:

1 cup salted butter, softened

1 cup sugar


5 tsp vanilla extract


4 eggs


1 tbsp cinnamon


1 tsp baking soda

1 tsp baking powder

1 tsp salt

1 cup buttermilk

        Preheat the oven to 350°F.  Grease and flour (using gluten-free flour, of course!) two round 9” cake pans.

       In a medium bowl using an electric mixer, cream the butter until light and fluffy.  Add in the sugar and extracts then continue whipping until fully creamed.

       Gradually add the eggs one at a time, mixing well between each addition.
  
      In a separate bowl, combine the flour, cinnamon, xanthan gum, baking powder, baking soda, and salt.  
    Then stir the dry ingredients into the creamed mixture a little at a time, alternating with the buttermilk.
       Scoop the batter into prepared pans, then bake for  25-30 minutes or until toothpick comes out clean from the center and the tops are a light golden brown.  Allow to cool fully before frosting.
 
Cinnamon Butter Cream 

1 cup butter (two sticks), softened

3 cups powdered sugar

½ tbsp whipping cream

1 tsp vanilla extract

1 tsp cinnamon powder

½ tsp salt

       In a medium bowl, cream butter with an electric mixer.  Whip in two cups of powdered sugar.  Add in heavy cream, cinnamon, vanilla, and salt, then whip in the final cup of powdered sugar.  Continue blending until smooth and creamy.
       Now just ice the cake and enjoy the cinnamon-y goodness!

Monday, November 3, 2014

Gluten-Free Creamy Ginger Brew Cupcakes!


Okay, so I couldn’t let autumn pass us by without posting a ginger recipe (and don’t think adding this one recipe will stop me from coming up with more gingery yumminess in the future!).  I felt like a ginger dish was long overdue, so I bring to you my version of a classic soda cake, with an autumn-flavored twist.  Now if you are a huge fan of ginger, you may want to up the gingeriness by adding a teaspoon of ground ginger into the cupcake batter.  What I have below is the recipe I whipped up and so far it's received nothing but great reviews.  I hope you enjoy! 
 
Here’s what you’ll need… 
 
3 Cups Ginger Ale, divided  (I used Reed’s Ginger Brew Extra Strong) 

1 tsp Apple Cider Vinegar
  
¾  Cup Sugar
  
1/3 Cup Coconut  Oil
 
2 tsp Vanilla 

1 1/3 Cups Gluten-Free All Purpose Flour
  
1 tsp Xanthan Gum 

1  tsp Baking Soda
  
1 tsp Baking Powder

---
1 tbsp Tapioca Starch/Flour


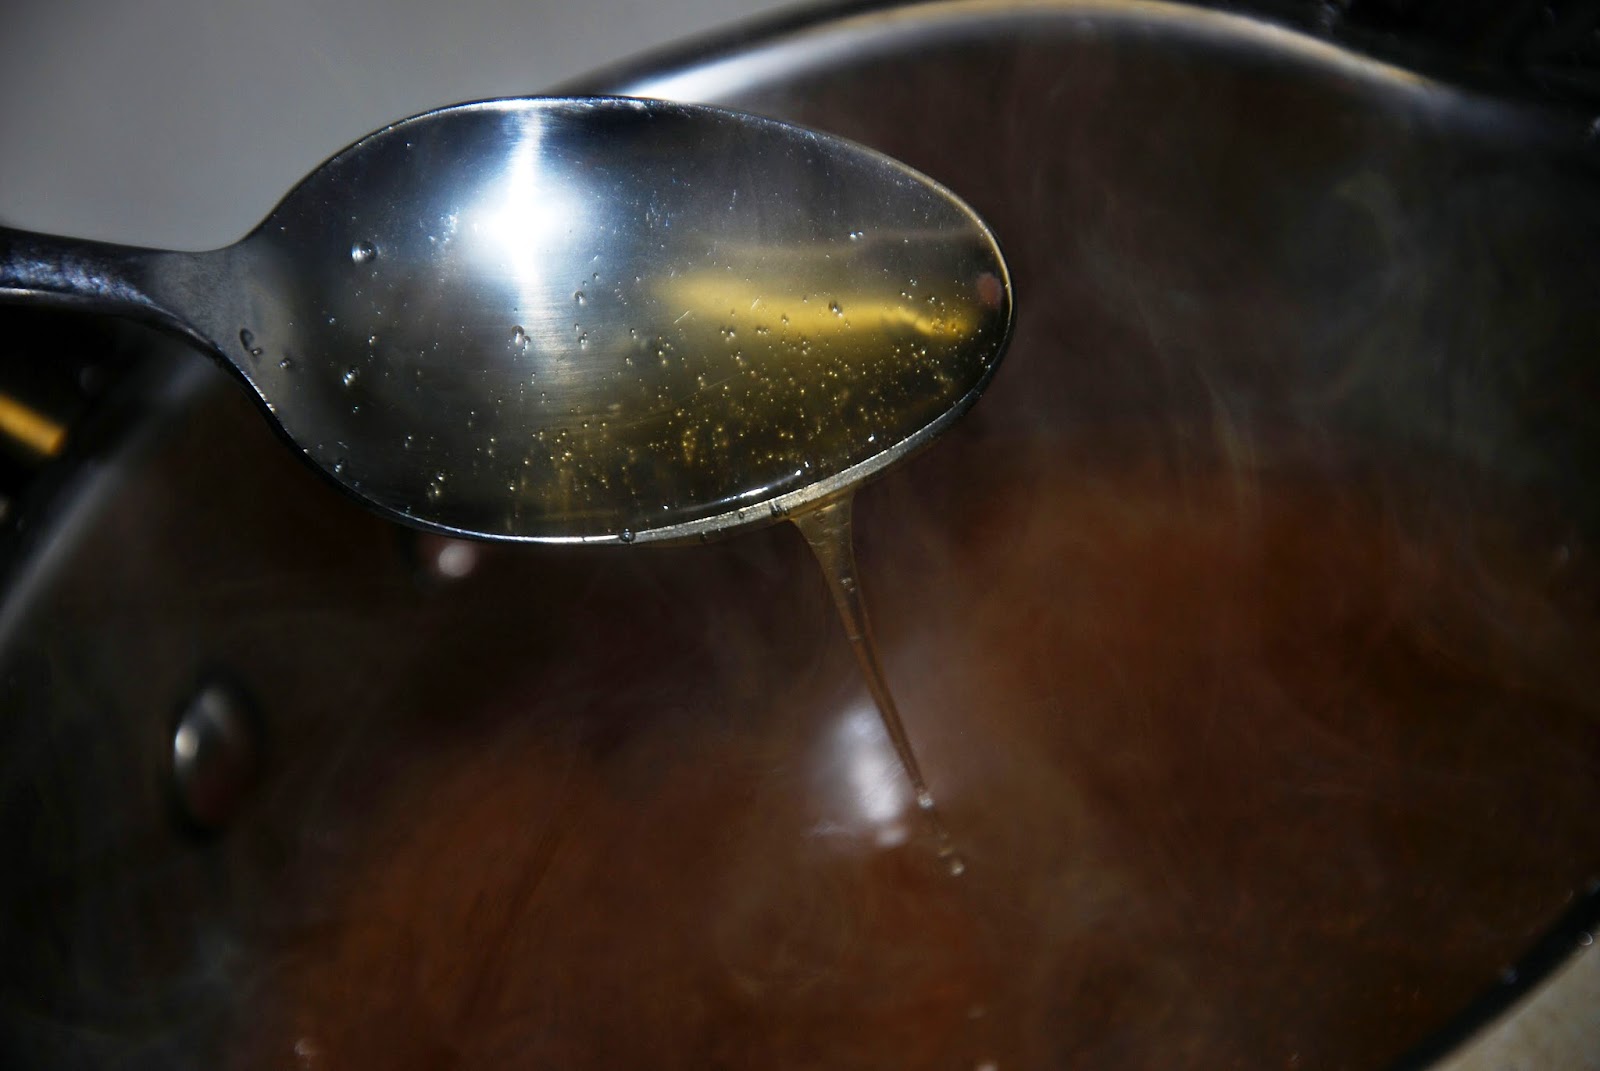
In a saucepan, dissolve one tablespoon of tapioca starch with a small amount of ginger ale.  After the tapioca has dissolved, add in two more cups of ginger ale. Slowly bring mixture to a boil until it thickens up to a syrup consistency.
        Place pan into the fridge and allow to cool until needed for frosting.
 
        Preheat oven to 350°F.  Grease a 6-cup jumbo muffin tin and set aside.

 
        In a medium bowl, combine ginger ale and vinegar.  Allow to sit together for five minutes before adding in sugar, vanilla, and coconut oil.  Using an electric mixer, blend the ingredients together on medium-high speed.
      In a small bowl combine flour, xanthan gum, baking powder, salt, and baking soda.  Slowly add the dry ingredients into the liquid mixture and whip until fully incorporated.

         Fill each cupcake tin approximately 3/4 full with batter.  Bake for 15-18 minutes or until a toothpick comes out clean.
 
        Transfer to a cooling rack right away and place into the refrigerator.

         While the cupcakes are chillin', we'll whip up some ginger cream filling!

 
Ginger Cream Filling

         Alright, so normally I’m all about just sharing the recipe with you, my readers, and letting the recipe speak for itself.  But sometimes, when a moment happens that is like something straight out of an episode of I Love Lucy, it just has to be shared with the world! 

        My original intention for this recipe was to just have a basic cupcake and ginger ale frosting.  Sooo, I cooked down the soda with the tapioca to make a nice thick syrup and magic happened!  Or so I thought.  I might warn you ahead of time...after you’ve creamed the butter for the frosting, make sure you completely whip the powdered sugar into the butter before trying to whip in the syrup!  Let’s just say that butter + powdered sugar + soda syrup = Brian being covered in a sticky, sugary, powdered mess!!!  I'll probably still be finding bits and pieces of ginger filling on the kitchen ceiling for a while.  Kinda reminded me of the time when my mixer attachment broke while making the creme for my Almond Delights...ahh, memories.  I think anyone can relate to 'electric mixer moments', as I like to call them!  Back to the recipe…   

 
1/2 Cup Salted Butter (one stick)

1 Cup Powdered Sugar

1/2 cup of Prepared Ginger Syrup

        In a bowl, cream the butter, then whip in the powdered sugar very, very well indeed before mixing in the prepared ginger syrup!  Set in the fridge until needed.

 
Ginger Butter Cream

 
1/2 Cup Salted Butter (one stick)

2 ½ Cups Powdered Sugar

½ tbsp Heavy Whipping Cream

¼ or ½ tsp Ginger Powder

1 tsp Vanilla Extract

¼ tsp Salt
 
        In a small bowl using an electric mixer, cream the butter until fluffy.  Add in one cup of powdered sugar followed by a half tablespoon of heavy whipping cream.  Whip in powdered ginger (1/4 or 1/2 teaspoon, depending on how gingery you like it), vanilla, and salt.  Whip in the last 1 ½ cups of powdered sugar.  If you would like your frosting to have a bit thinner consistency, add a splash more of heavy cream. 
 
To assemble cupcakes:

        Once the cupcakes have completely cooled, core out the centers using either a coring tool or butter knife.  After you’ve cored out about an inch of cupcake, scoop the prepared filling into a piping bag and squeeze into the centers of each cupcake.  Next, spread generous amounts of ginger butter cream across the tops of the cupcakes.  As a final touch, I suggest garnishing with pieces of crystallized ginger.  Then serve and enjoy!

Friday, October 31, 2014

Spiced Gluten-Free Pumpkin Pecan Coffee Cake


So earlier this year, I came up with a blackberry coffee cake that became a big summer hit on my blog!  Turns out people really like having something a little sweet to go along with their coffee, so now I’ve decided to bring you an autumn-inspired coffee cake with the wonderful combination of pumpkin, cinnamon, clove, and pecan!  (You can never have too much pumpkin in the fall, right?  Nope, no way.)  

        Also earlier this year, I might have posted a Berries N' Cream Cupcake recipe that I forgot to take pictures of the final product for.  Well, I didn't forget exactly, but I ran into some technical difficulties.  The one nice thing about technical issues...you have a good reason for why you don't have the pictures.  You know, battery failure, battery backup failure, power outage, the dog ate my camera, that type of stuff.  Not such a funny story when you actually just plumb forget to take pictures of the finished recipe.  I think my fellow bloggers can relate to balancing blogging, working, and everyday life!  I hope you will enjoy this wonderful recipe with or without a finished product photo.  And hey, if you'd like to send me a picture of your finished coffee cake, the best photo will be posted on the blog with full credit going to you!

Here’s what you’ll need… 

Cake:

1 tsp xanthan gum 

1 tsp baking powder 

1/2 tsp baking soda 

1 tsp cinnamon 

1 tsp nutmeg 

1/2 clove 

1/2 tsp salt 

1 cup sugar 

1 stick unsalted butter , softened  

2 eggs  

2 tsp vanilla extract 


1 cup pumpkin puree (not pumpkin pie mix) 

1/3 cup sour cream 

1/4 cup half and half cream.
 
 1 cup chopped pecans

Preheat your oven to 350°F.  Grease a 9X11 glass baking pan and set aside.
   
  In a large bowl, combine flour, xanthan gum, baking
powder, baking soda, spices, salt, and sugar.  Stir in the butter, eggs, vanilla, sour cream, and milk, mixing well after adding each ingredient. 
  Fold in chopped pecans then Scrape the batter into the prepared baking pan, and spread until evenly distributed.  Set aside until you are ready to add the topping.


Cinnamon Brown Sugar Topping

1/2 cup almond meal


 2 tsp cinnamon

 1/4 tsp salt

1/2 cup brown sugar

4 tbsp palm Shortening  

1 tsp vanilla extract


   In a medium bowl, combine almond meal, cinnamon, salt, brown sugar, vanilla, and palm shortening, mixing well.  The mixture will be relatively thick but soft. 
 
 Spread the topping over the batter .  

  Bake for about 40 – 45 minutes or until a toothpick inserted in the center of the cake comes out clean. 

  Allow the cake to cool completely then enjoy!  Cup of coffee not required...but highly recommended. 

Monday, October 27, 2014

Gluten-Free Pumpkin Pie


        Okay everyone, it's time to get ready for Thanksgiving and what is the first thing that comes to mind (besides turkey, of course)?  Pumpkin pie!  It's not Thanksgiving without a great pumpkin pie recipe!  But what if you or a person you're cooking for is sensitive to gluten?  Fear not, I have come up with an awesome pumpkin pie recipe that utilizes a coconut flour crust!  If you've ever worked with coconut flour before, you know it can sometimes be a little tricky to get the texture just right.  I was excited about the way it turned out and I hope you enjoy this wonderful seasonal recipe! 

Crust:

3/4 cups Bob’s Red Mill Coconut flour 

1 stick of unsalted butter, softened

2 tbsp brown sugar

2 eggs


½ tsp salt

Pumpkin Filling:

3 eggs

1  tsp clove

2 tsp cinnamon


½ tsp nutmeg

½ tsp cardamom

½ teaspoon salt

1 15oz can of pumpkin puree (not pumpkin pie mix)

1 12oz can of evaporated milk


        Preheat oven to 350 degrees F.  Grease a 9” spring form pan.

To make the pie crust, mix together the eggs, butter, sugar, and salt.  Stir in coconut flour and continue mixing until all the ingredients are fully combined and have reached a doughy texture.

Press the pie dough into the bottom of the prepared spring form pan and set aside till needed. 
        To make the filling, in a small bowl combine sugar, spices, and salt then set aside.


        In a medium bowl using an electric mixer, whip eggs until slightly foamy.  Add in pumpkin puree and the spiced sugar mixture and whip until fully combined.  Whip in the evaporated milk then pour mixture over the prepared crust.
        Bake for 45-50 minutes or until a butter knife comes out clean.  Allow to cool fully before releasing the spring form pan and cutting the pie.   

Then serve and ENJOY!

Friday, October 24, 2014

Classic Gluten-Free Carrot Cake


       A few weeks ago, I posted a recipe for German Chocolate Cake, and in some people's opinion, that is the go-to recipe for a classic cake. But today I wanted to bring you what to me is one of the top classics when it comes to baking: CARROT CAKE!!!  I know there are about a million different versions of this old stand-by...some have coconut or raisins or even pineapple.  But I say, why not stick with the tried-and-true classic: carrots and pecans.  Oh and, by the way, I made this one gluten-free! I hope you enjoy this recipe! 

You'll need: 

4 eggs 

1 ¼ cups coconut oil, melted 

2 cups sugar 

2 tsp vanilla extract

-


2  tsp baking powder

2  tsp baking soda

1/2 teaspoon salt

3 tsp cinnamon

-

3 cups grated carrots

1 cup pecans, chopped

       Preheat the oven to 350°F.  Prepare two 9” round pans by greasing and flouring.

       In a medium bowl, combine together the eggs, oil, sugar, and vanilla.
       In a separate bowl, mix together flour, xanthan gum, baking soda, baking powder, salt, and cinnamon.  Then slowly add the liquid ingredients to the dry ingredients and mix until fully combined.


      Next, fold in the carrots, followed by the pecans.  
     Pour the batter evenly into the prepared pans and bake for about 25–30 minutes or until a toothpick comes out clean.

       Once the cakes have finished baking, allow them to cool either at room temperature or you can place the pans in the refrigerator on hot pads to cool them faster. This is the method I generally use...hmm, does this make me impatient or practical???   

 
Savory Vanilla Butter Cream Frosting

 
1 8oz block of Kerrygold salted butter

3 cups powdered sugar

 2 tsp vanilla extract

3 tbsp heavy whipping cream

       In a bowl using an electric mixer, cream the butter until smooth. Add in one cup of powdered sugar and cream together until the butter is thick and crumbly. Add in a tablespoon of cream and vanilla then whip until smooth.  Add in another cup of  powdered sugar followed by one tablespoon of heavy whipping cream.  Repeat this step, using the last of the cream and sugar.  The extra steps are well worth it because the finished result will be an AMAZING frosting that easily replaces the normal cream cheese frosting you associate with carrot cake.

       *Brian’s tip:  Don’t skip the Kerrygold butter!  I’m not saying that this recipe won’t still be absolutely delicious without it, but the Kerrygold really takes it over the top and gives it an incredible flavor.

       Assemble the two-layer cake by placing a generous amount of frosting on the bottom layer, followed by placing the second cake on top of it.  Then use the rest of the frosting to cover the whole cake. Yes, it’s that easy!  Enjoy!
 

Tuesday, October 21, 2014

Top 10 Dessert Recipes of 2014

 
Exciting news from the Delectably Different Kitchen!
    I’ve launched my first book through Amazon Kindle. I’ve put together my TOP 10 blog recipes of 2014. I’ve placed them in a easy to use form that can be downloaded on any Kindle friendly device. I hope you enjoy this combination of recipes.