Monday, March 30, 2015

Cadbury Indulgence Brownies!

       Right now is the only time of year when you can find one of my favorite indulgent-y treats…Cadbury Crème Eggs!!!  So with time running out and only a small window of opportunity to buy them, I decided to bring you an oh-so-naughty treat that’s only allowed to be made one time a year in my house!  I hope you enjoy this recipe… 

       (*Editor's note: These might possibly be the thickest, fudgiest brownies I have ever eaten.  Trust me on this, you will want to make this recipe!)

You'll need:


4 Eggs

1 tbsp Vanilla

2  Cups Flour

1 Cup Dark Cocoa

1 tsp Salt

6 Cadbury Eggs, chopped

3 Separate Cadbury eggs, chopped


       Preheat oven to 325°F.  Grease a 13x9 Pan and set aside.
       In a mixing bowl, cream together Butter and sugar.  Then add the eggs one at a time, mixing thoroughly between each egg.  Whip in vanilla then set aside.
       In a separate bowl, combine flour, Cocoa and salt.  Next, slowly mix the dry ingredients into the creamed ingredients.
 
gently fold in the six chopped Cadbury eggs.  Pour batter into the prepared 13x9 pan.  
Sprinkle the additional three chopped Cadbury Eggs across the top, then bake for 30 - 35 minutes.
After they’ve finished baking, allow the brownies to cool before cutting and serving.  A little tip if you’re wanting an even more deeply naughty indulgence, drizzle a generous amount of caramel sauce across each piece before you serve!
 Enjoy this springtime treat!

Thursday, March 26, 2015

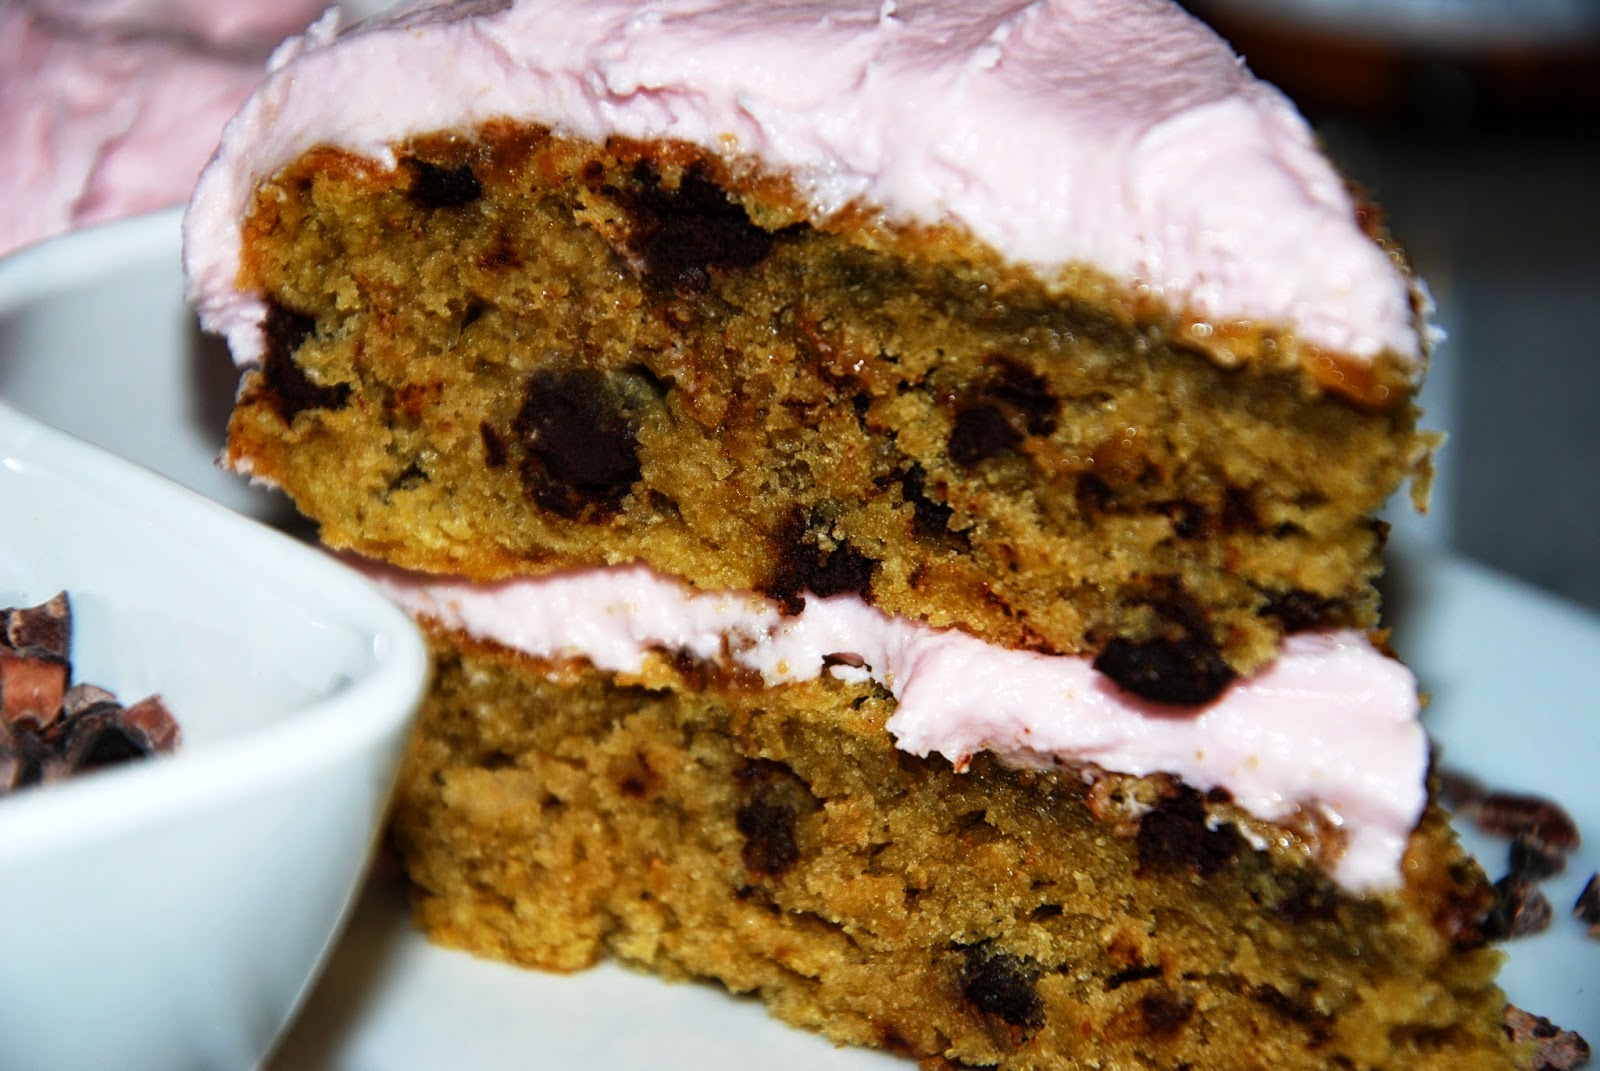
Vegan Gluten-Free Not-So-Pink Velvet Cake


       I was asked to make a pink velvet cake for a customer so I thought, "No problem, I can do this!"  A bit of beet juice and a splash of hibiscus and everything will be, well, pink!  Alas, the name of the finished dessert should really be changed to Cookie Dough Cake.  But as the pictures will reveal, it clearly started out as a pink cake!!!  Somehow along the way, during the baking process, that pretty pink color literally baked out.  Oh well, it still tastes delicious.  I hope you enjoy this not-so-pink Velvet Cake!    


You'll need:

3 hibiscus Tea Bags 


2/3 cup hot water

-


2 cups sugar

2 tbsp vanilla extract


EggSubstitute, equivalent to 4 eggs


1 ½ tsp Xanthan Gum

1 tsp baking powder

1 tsp Baking Soda

1 tsp salt

1 cup Coconut milk

1 tbsp vinegar


¼  Cup Cacao Nibs

       In a mug, steep hibiscus tea bags in hot water until it reaches a nice deep red color.  Set aside until needed.

       Preheat the oven to 350°F.  Prepare two round 9” pans by greasing then flouring with gluten-free flour.

       In a medium bowl, cream the Coconut oil and sugar until light and fluffy.  Then add in the extracts and continue whipping until fully creamed.

       Gradually, add in the egg substitute.  mix well to combine all ingredients.

Combine Vinegar and Coconut Milk into a cup then set aside.

       In a separate bowl, combine the dry ingredients.  Pour out 1/3 cup of the hibiscus tea into a separate container.  Next, start to stir this into the creamed mixture a little at a time, alternating with the dry ingredients and milk.  Before mixing in the 1/3 cup of hibiscus tea,
 
   dissolve the beet crystals into it the liquid.  Then mix the tea into the batter.  
 Fold in chocolate chips and cacao nibs. 
       Pour batter into prepared pans and Bake for 20 - 25 minutes or until toothpick comes out clean from the center.  
 Allow to cool completely before frosting. 

Vegan Pink Frosting

1 ½ Cups of Palm Shortening


2/3 cup Hot Water

4 cups powdered sugar

2 tbsp vanilla extract

½ cup shredded coconut, unsweetened

       Brew the hibiscus tea in 2/3 cup of hot water. Set aside and allow to cool.

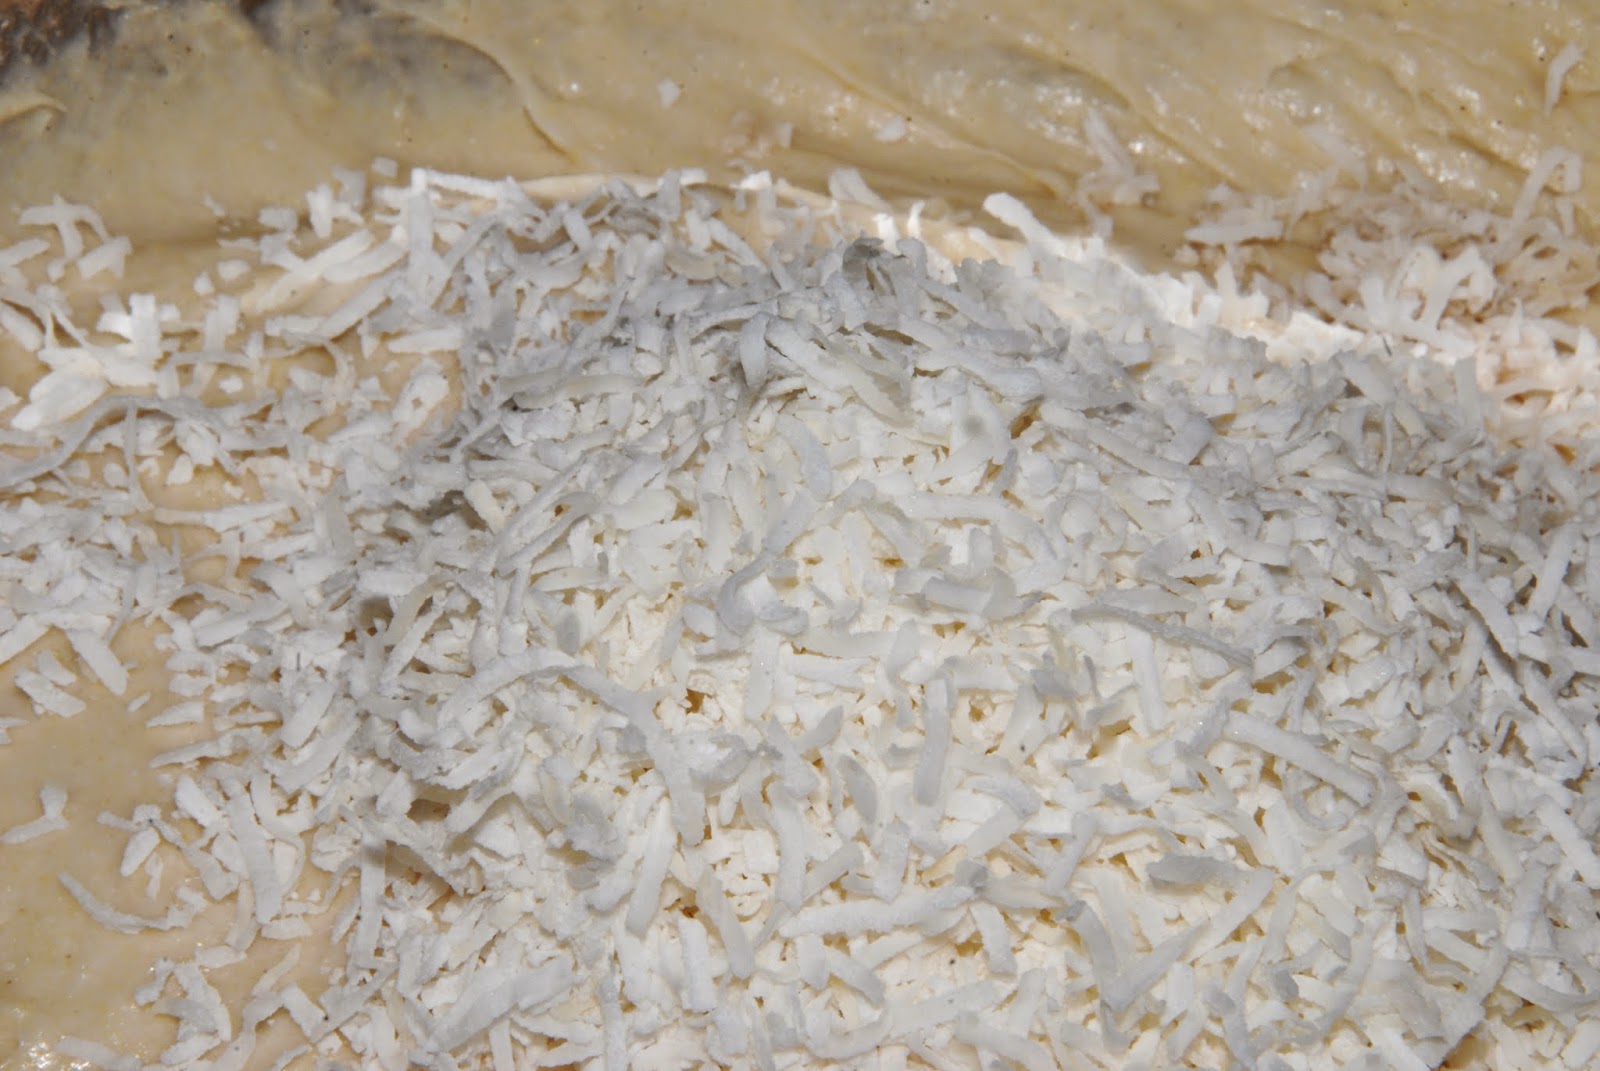
       In a large bowl with an electric mixer, whip the shortening until fluffy.  Whip in one cup of powdered sugar, Then add in two tablespoons of hibiscus tea and the extracts.  Add in a second cup of powdered sugar and another tablespoon of tea, followed by another cup of powdered sugar and the final two tablespoons of tea.  Keep whipping until the mixture becomes a little thinner.  To finish, beat in the remaining cup of powdered sugar and the shredded coconut.  If you desire a thinner frosting, just mix in splash of coconut milk.

   Spread the frosting over the bottom layer of cake for the filling, then place the second cake on top.  Finish frosting the top and sides of the cake with the REMAINING frosting.

       Enjoy!

Monday, March 23, 2015

Vegan Gluten-Free Peanut Butter Banana Cake!


       With three bananas too ripe to eat, I did what any normal baker would do.  I decided to break out the cake pans and make a banana cake of course!  Then I needed to choose a frosting and, like the late great Elvis Presley, I went with peanut butter and banana!  I hope you enjoy this delicious, classic combo…    

You'll need:

1/2 cup Coconut Oil


1 tbsp vanilla extract


3/4 Cup pumpkin puree


1 ½ tsp Xanthan Gum

1 tsp baking powder

1 tsp Baking Soda

1 tsp salt

1 1/3 Cup ripe banana, mashed

1/4 cup Coconut milk

2 tsp Vinegar

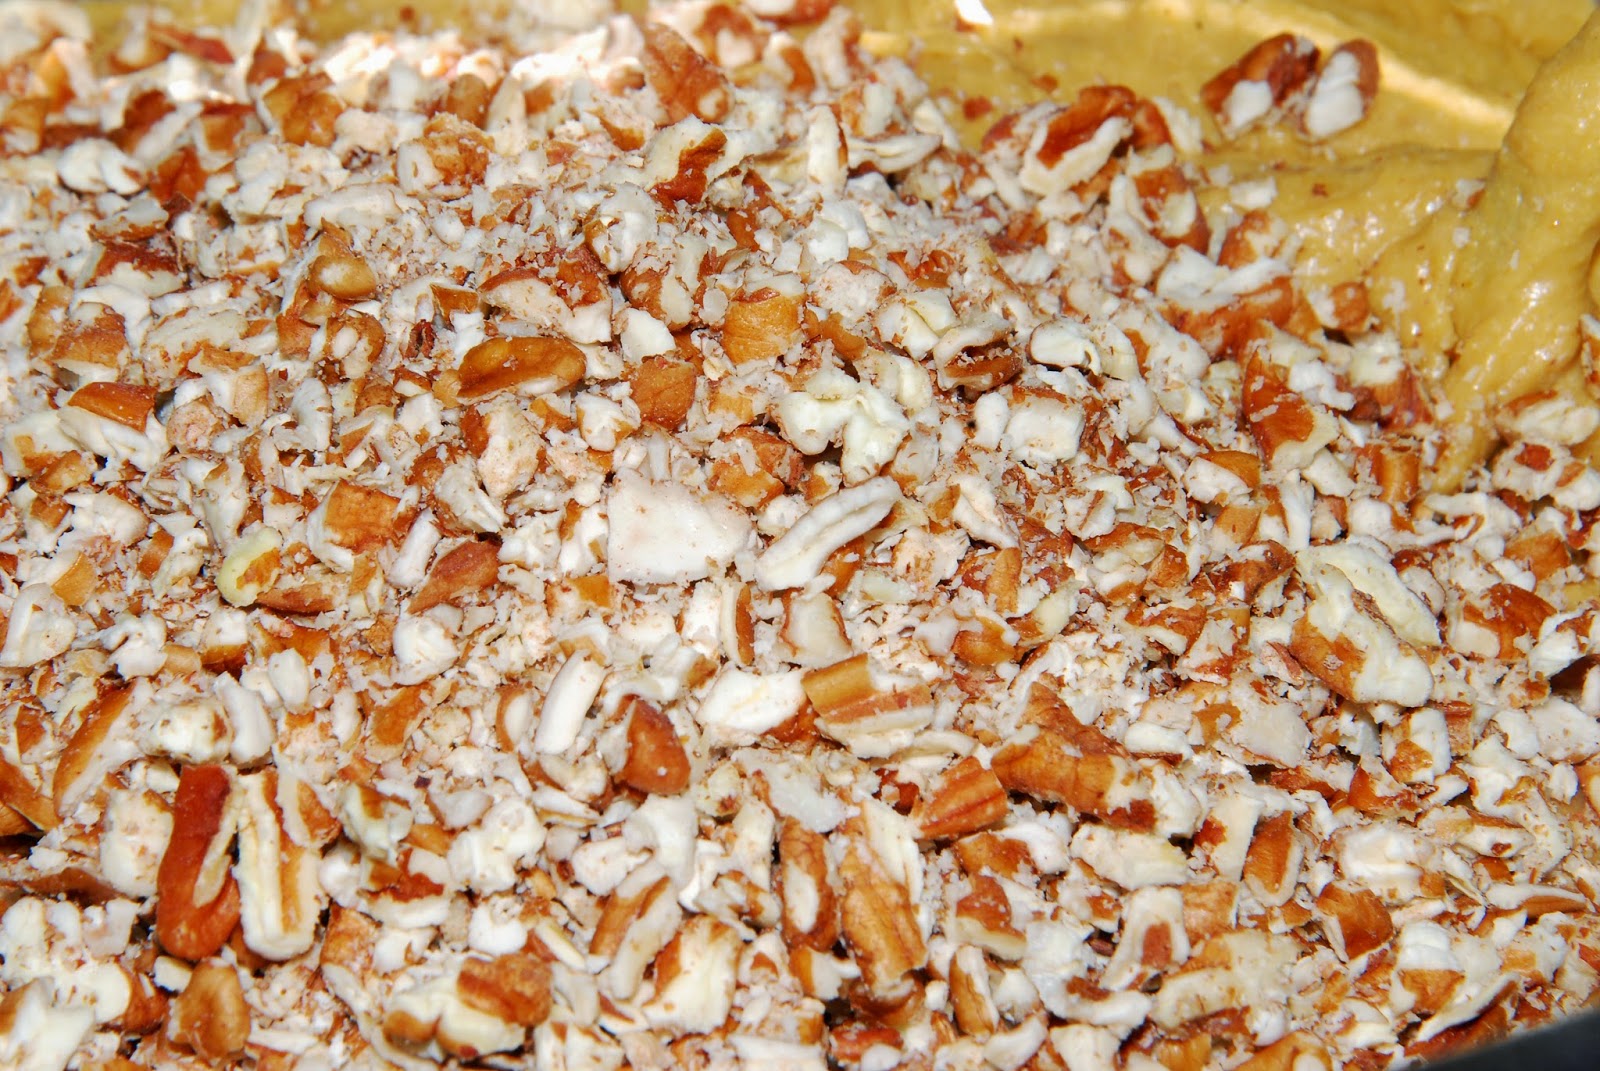
1 Cup pecans, chopped
 

       Preheat the oven to 350°F.  Prepare two round 9” pans by greasing then flouring with gluten-free flour.
       In a medium bowl, cream the Coconut oil, sugar, and extracts until light and fluffy.  Then add in the pumpkin puree and continue whipping until fully creamed.
Combine Vinegar, Milk, and banana.  Set aside until needed.

      In a separate bowl, combine the dry ingredients.  Then stir into the creamed mixture a little at a time, alternating with the banana mixture.  Lastly, fold in pecans.
       Pour batter into prepared pans and Bake for 25-30 minutes or until toothpick comes out clean from the center and the tops are a light golden brown.  Allow to cool completely before frosting.

       Peanut Butter Fudge Frosting

1 Cup Creamy Peanut Butter


2 cups powdered sugar

Coconut Milk, as needed

       In a large bowl with an electric mixer, whip the shortening and peanut butter until fluffy.  Whip in one cup of powdered sugar, Then add in a splash of coconut milk and the second cup of powdered sugar.  Then add enough coconut milk to thin out the mixture to a butter cream consistency. 

        Spread the frosting over the bottom layer of cake for the filling, then place the second cake on top.  Finish frosting the top and sides of the cake with the REMAINING frosting.

       Enjoy!

Friday, March 20, 2015

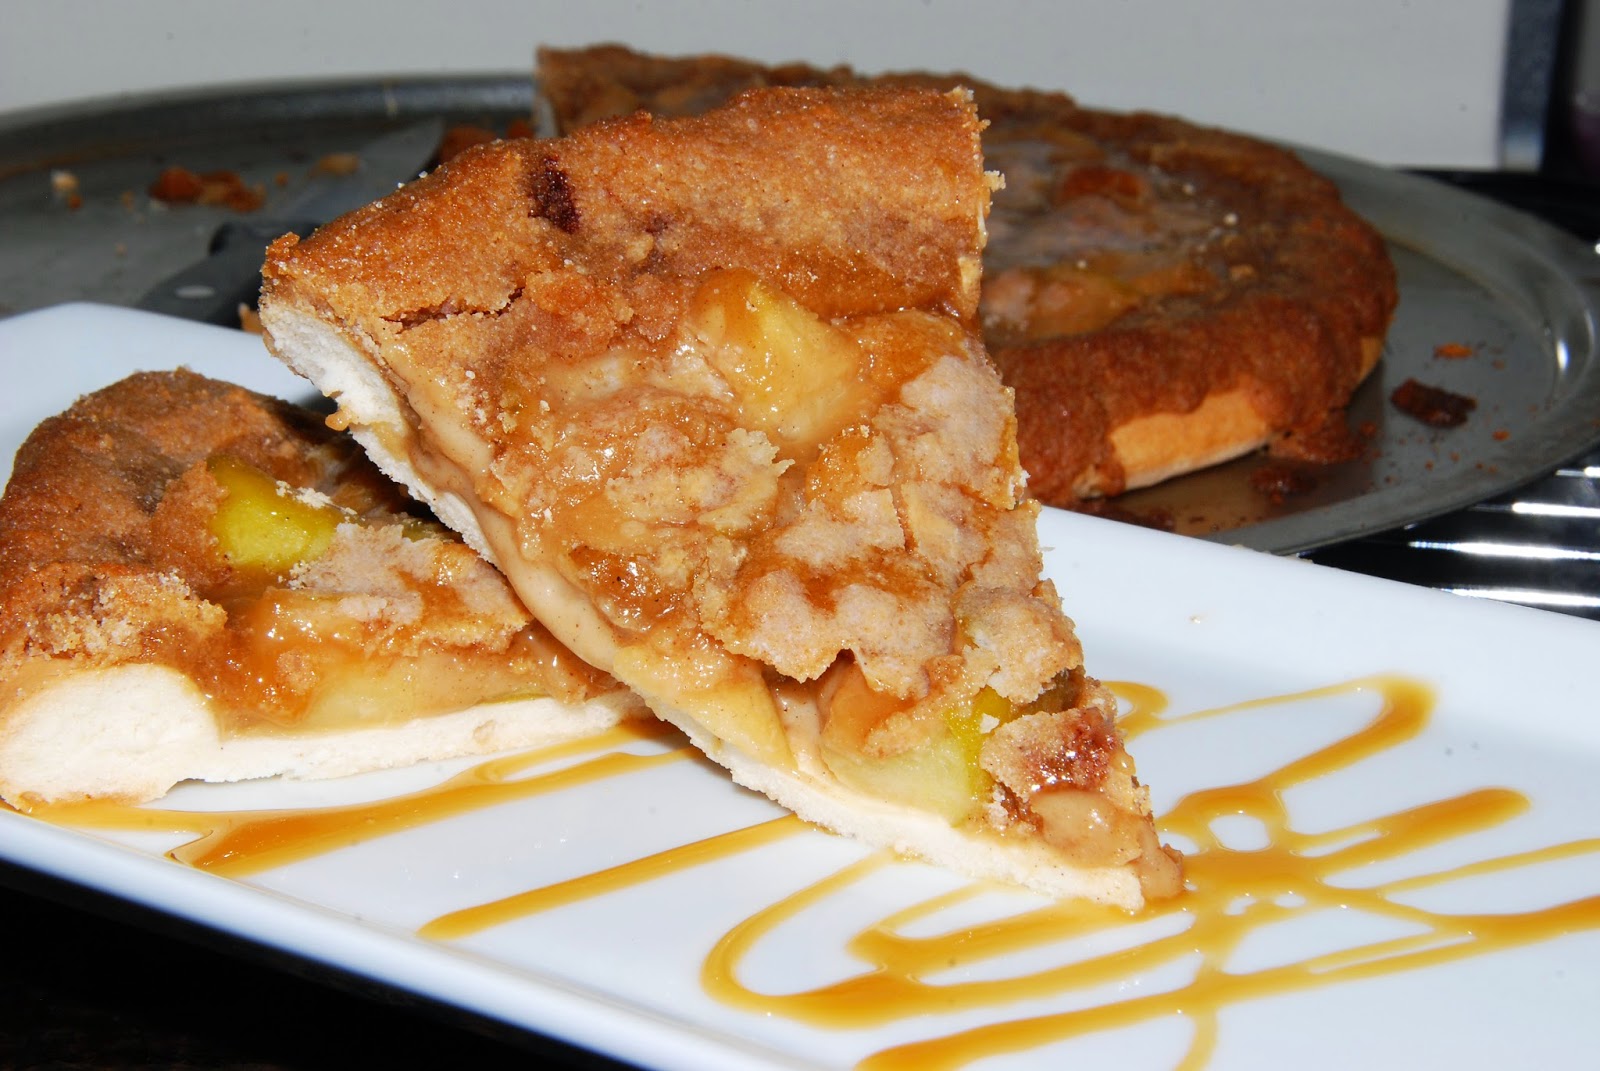
Gluten-Free Caramel Apple Pizza-Pie


      When I decided to participate in the Schar Gluten-Free pizza challenge, I knew I couldn’t just do a traditional pizza.  So I began to think on it for a bit, and my mind kept going back to when pizzas were called 'Pizza pie'...and when I think of a classic pie,  what comes to mind?  Apples, of course!  So that’s how I decided to do a streusel-y, caramel-y apple pizza pie (and yes those are the technical terms).  I hope you enjoy this delicious creation.  Thanks SCHAR for your amazing pizza crust!

You'll need:


1 Large Granny Smith Apple, diced

¼ Cup Water

1/2 Cup Brown Sugar

1/2 tsp Cinnamon

1 tsp Cardamom

1/2 tbs cornstarch or Tapioca

1/2 Cup Heavy Whipping Cream
Streusel:

1/4 cup Brown sugar

1/4  Cup Sugar

1/8 cup coconut flour

1/4 Cup coconut oil

1/2 tsp Cinnamon

Caramel Sauce, Optional
Additional coconut flour, optional


       Preheat oven to 410°F.  Grease a round cookie sheet and place the pizza crust on it.  Set aside.
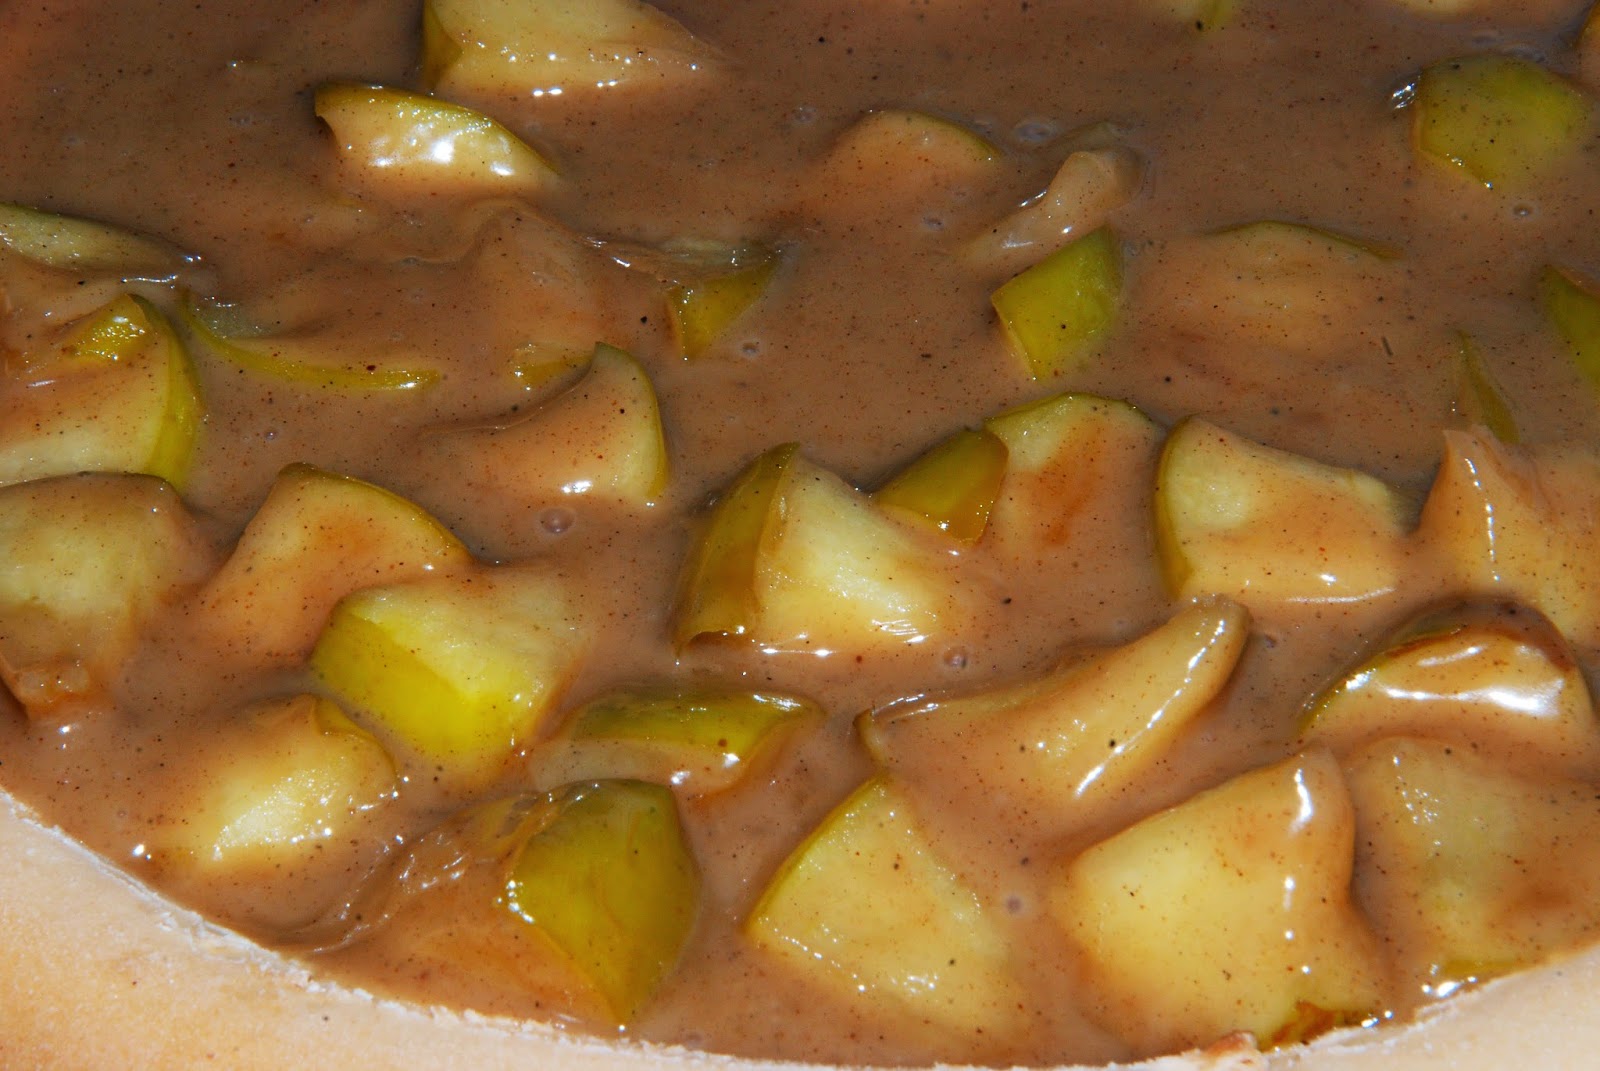
       In a saucepan, begin to cook the apples with the water over medium-low heat.  After they have simmered for about three minutes, add in sugar and spices.  Gradually raise the heat until the mixture begins to boil.  Then turn the heat down to a simmer again.
       In a small cup dissolve the starch into the heavy cream and stir until fully dissolved.  Add the starch/cream mixture to the apples and gradually raise the heat again until it reaches a rolling boil and has a nice syrupy consistency.
       Spread the apples evenly across the top of the prepared crust, then set aside again until needed.
       In a small bowl, combine all of the streusel ingredients and stir until fully combined.  Sprinkle across the top of the apples, covering the edges of the crust. Drizzle the top with caramel sauce then sprinkle a generous amount of coconut flour across the top as well.
       Bake in preheated oven for 10 minutes.  Remove from oven and place in the fridge to allow the pizza to cool fully before serving.

       Slice and enjoy!

Monday, March 16, 2015

Vegan Gluten-Free Andes Mint Chocolate Cake

       I think I have an addiction to chocolate and mint!  But that's okay, right? I mean, some of my most popular posts so far have been chocolate/mint combinations.  So today I bring you yet another...this one was inspired by an Andes mint!  I hope you enjoy!


You'll need:

1 cup sugar

1/2 cup brown sugar


1 ½ tsp baking powder

1 ½  tsp baking soda

1 tsp salt

1/2 cup coconut oil

½ cup pumpkin puree

1 cup coconut milk

1 tbsp vinegar

1 tbsp vanilla extract

2 tsp Peppermint Extract

½ cup Enjoy Life Mini Chocolate Chips


1 cup hot water


       Preheat the oven to 350°F.  Grease two 9" round cake pans.
       In a medium bowl, combine the sugars, flour, cocoa, baking powder, baking soda, and salt.
 
       In a separate bowl, whip together coconut oil, pumpkin, coconut milk, Vinegar, and extracts.  Then slowly add the liquid mixture to the dry ingredients and stir until combined.  Next, fold in the chocolate chips.
        Add the hot water to the batter and mix well, until batter thins out.  Pour evenly into the prepared pans and bake for about 20 - 25 minutes or until a toothpick comes out clean. 

       Once the cakes have finished baking, allow to cool completely before frosting.
 

Chocolate Mint Cream Frosting


3 cups powdered sugar

¼ Cup Cocoa Powder

1 tsp vanilla extract

2 tsp Peppermint Extract

Coconut milk

       In a bowl using an electric mixer, cream the shortening until smooth.  Add in two cups of powdered sugar and cream together until the shortening is thick and crumbly.
       Add in the Cocoa and extracts add a splash of coconut milk then whip together.  Add in another cup of powdered sugar followed by just enough coconut milk to make the frosting nice and smooth.  Continue mixing until creamy.
       Assemble the layers, then fill and frost the cakes.  Serve and enjoy!

Friday, March 13, 2015

Vegan Gluten-Free Coconut Dreamsicle Cake


       Even though summer isn't yet upon us, here in Florida it has become warm enough for us to enjoy some of those classic summer flavors once more!  One of my favorite go-to treats is a Dreamsicle.  It takes me back to my childhood, with memories of hot summer days spent out in the sunshine, enjoying a sweet, frozen Dreamsicle.  So I thought, "Hey, why not make a Dreamsicle cake!  And while I'm at it, why not add a dash of coconut for good measure?"

       I hope you enjoy my grown-up version of a summer classic...


You'll need:


1 ¾ Cup Wholesome Sugar


Egg Substitute, equivalent to 4 eggs

1 Cup Coconut Milk

1 tbsp Vinegar

1 tbsp Vanilla Extract

1 1/2 tsp Coconut Extract


11/2 tsp Baking Powder

1 1/2 tsp Baking Soda

1 tsp Salt


 *Click Here for a simple and effective way to get the coconut cream. 

       Preheat oven to 350°F.  Grease and flour two 9" round pans.
       In a mixing bowl, whip together Coconut Oil, sugar, coconut cream, and egg substitute until fluffy.  In a small bowl, combine Coconut Milk, Vinegar, and extracts.  Set aside.
 
      In a separate bowl, combine flour, baking powder, baking soda, and salt.  Next, add the dry ingredients to the coconut cream mixture, alternating with the liquid ingredients.  Use an electric mixer on low speed.
gently fold in the shredded coconut, mixing until just combined.
Bake for 30 minutes then check to see if a toothpick comes out clean.  If not, continue baking, checking every few minutes to make sure it doesn't over bake.
 Once your cake is done, allow to cool in the pans for about five minutes at room temperature, then place in the refrigerator for about two hours before removing from pans and frosting. 

Dreamsicle Cream Frosting 


3 cups powdered sugar

1 tbsp vanilla extract


Coconut milk

       In a bowl using an electric mixer, cream the shortening until smooth.  Add in two cups of powdered sugar and cream together until the shortening is thick and crumbly.

       Next, add in the extracts and a splash of coconut milk then whip together.  Add in another cup of powdered sugar followed by just enough coconut milk to make the frosting nice and smooth.  Continue mixing until creamy.

       Assemble the layers, then fill and frost the cakes.  Serve and enjoy!

Monday, March 9, 2015

Gluten-Free Berrylicious Protein Bites!


       Okay…okay…I figured it’s time to share a recipe that's a bit healthier.  (Now's about the time when those New Year's resolutions can be all but forgotten.)  One of my most popular posts so far in 2015 has been my Superfood Protein Bites, so I thought why not make a dessert-y protein bite?  Into the kitchen I went!  I was afraid of what a peanut butter and berry combination would turn into, but then I thought, "Hey, everyone loves a good PB&J!"
       The result was pure healthy yumminess!!!  I think this treat could be a great tool for anyone who's looking to curb their sweet tooth without breaking most diet restrictions...you might choose to leave out the White Chocolate Chips though. J 

Here’s what you'll need:


1 Cup Natural Peanut Butter


1/2 Cup Shredded coconut, unsweetened

1/2  Cup Dried Cherries

1/4  Cup Dried Cranberries

1 tbsp Vanilla extract

3 tbsp Honey


-Optional- 1/2  Cup White Chocolate Chips

      In a large mixing bowl, combine all of the ingredients.  Mix thoroughly until every ingredient is well combined.  Then either spread into a 9x11 pan or do as I did and use Wilton silicone bites-size brownie mold.  It works amazingly well and automatically creates the perfect serving size!
        Whichever container you choose to use, spread the protein mix into it evenly and then refrigerate for several hours until the mixture is nice and firm.  After that, either cut your bites out of the 9x11 pan or pop them out of the mold.  Store them in an airtight container in the fridge.  Each yummy little bite should contain an average of three grams of protein.  Not bad for a bite-sized treat!
       I hope you enjoy and I hope you have great success with your healthy lifestyle!