Still craving
some summer flavors? Summer may be
almost over but fear not. I am still in
vacation mode so I have the perfect recipe to help us enjoy those warm, bright
flavors for a little while longer! These
muffins feature the delicious combo of mango and coconut and then are topped with a (wait for it...) salted
rum butter cream. Need I say more?
You'll need...
1 ½ cups flour
1 tsp baking powder
1 tsp baking soda
½ tsp salt
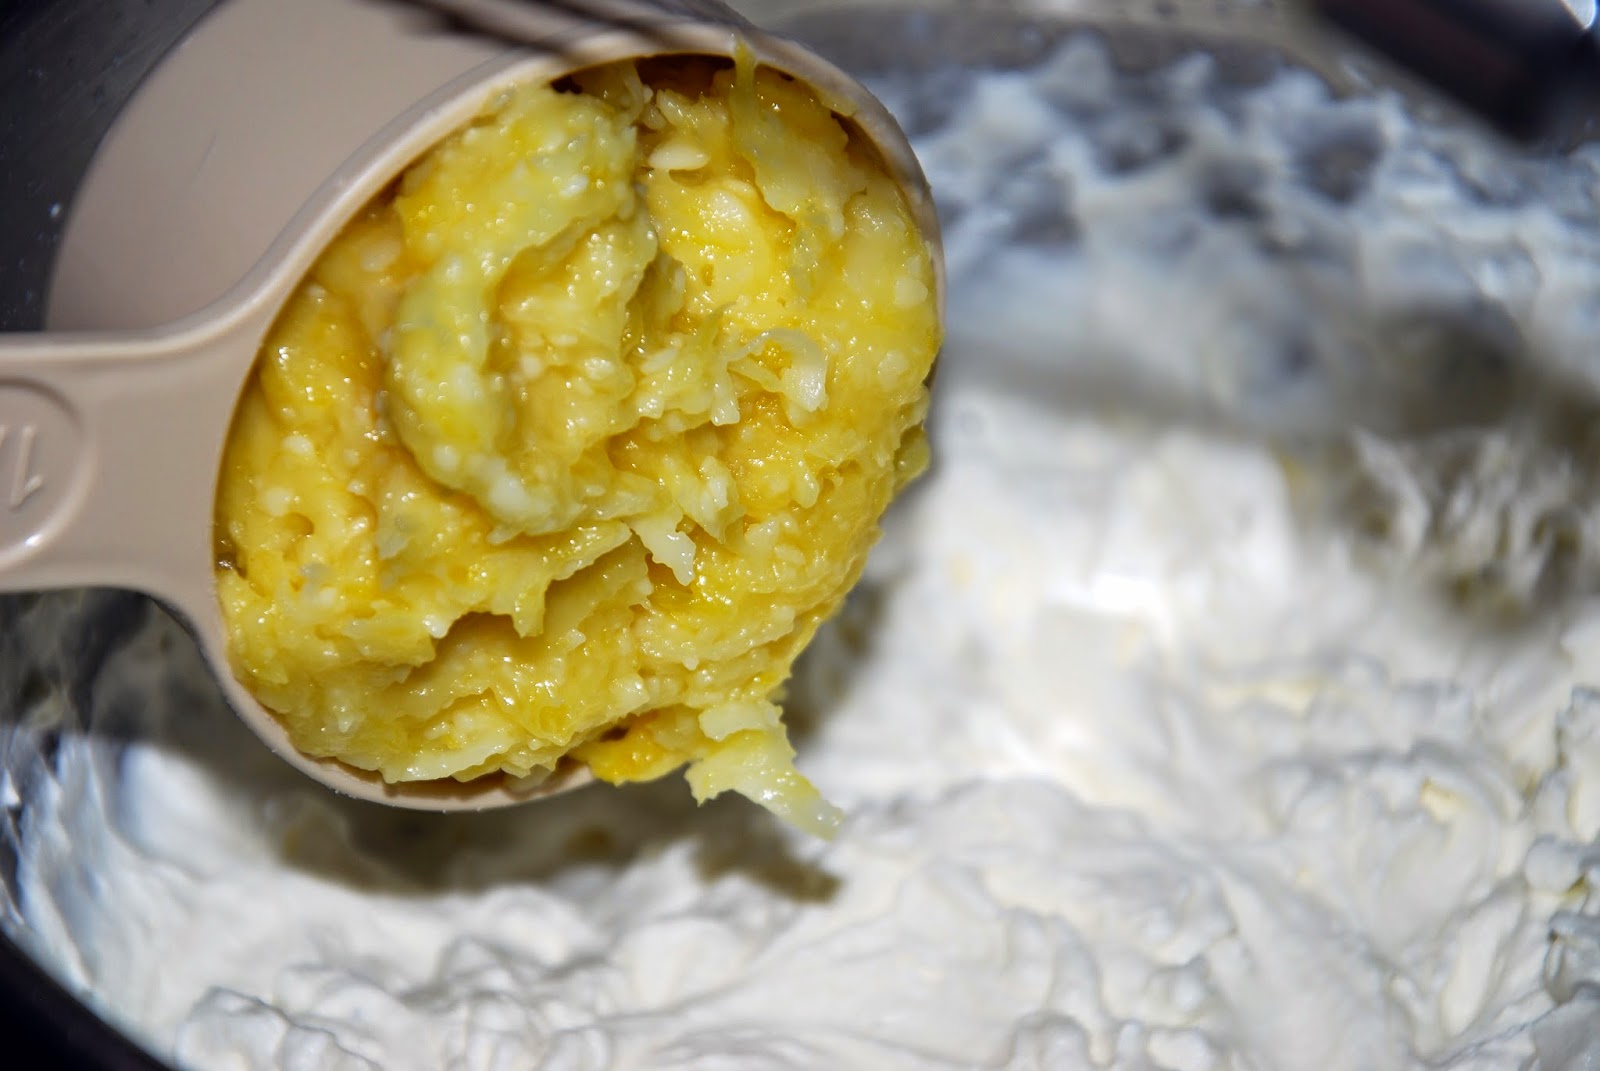
1 cup Mango Cream
¼ cup + 2tbsp milk
3/4 cup sugar
1 egg
1/3 cup butter, melted
Makes 12 muffins.
Preheat oven
to 350°F. Prepare two muffin tins by greasing each cup
(or you can use cupcake liners, if you prefer).
In a small mixing bowl, combine flour, baking powder, baking soda, and salt. Set aside until needed.

Stir dry
ingredients into the creamed mixture. *Important tip: don’t over stir! For best results, be sure to mix the flour
into the creamed mixture until just combined and the flour is no longer
visible. Over-mixing can cause the
muffins to be less moist.

Once the
muffins have finished baking, take them out of the oven and let them cool in
the tins for about three minutes before transferring them to a cooling rack.
Once your
muffins have fully cooled, it's time to break out the coring tool. I know, I
know...yet another cream-stuffed recipe using the corer. But I promise I wouldn’t be repeating this if
it wasn’t such a hit! (And do I need to
say again how much fun it is?)
Cut a hole
the size of a quarter in the center of the muffins, only going down about 1/4 of
an inch deep. Then using a knife, press
the muffin center to the sides so you have an empty cone shape in the middle to
put the filling in. Once you have cored
out all the muffins, you can start on the cream.
Island Coconut
Cream
8oz cream cheese
1/2 cup
+ 2tbsp powdered sugar
1 tsp vanilla extract
1 tsp coconut flavor
½ tsp rum flavor
1/2 tsp salt
In a medium
mixing bowl, beat the cream cheese until smooth. Then whip in powdered sugar followed by
extracts and salt. Continue whipping until
fully combined. 
Put the
butter cream into an icing bag fitted with a tip or a gallon Ziploc bag with
one corner cut out. Then stick the tip
into the center of the muffin and fill the hollow. Continue squeezing and move the tip up until
you fill the center all the way to the top.
Repeat this process until all of the muffins are filled.
Serve and enjoy!