I
found this shirt online today and as a man who bakes I believe this motto to be
true. REAL MEN BAKE!

Wednesday, July 16, 2014


Monday, July 14, 2014
Gluten-Free Tropical Coconut Cream Cake
 Summertime means
relaxing on the beach with your toes in the sand and an ocean breeze blowing
your hair. It also means we tend to
crave those bright, tropical flavors that make summer, well...so summery.
So today I have for you a gluten-free and sugar-free coconut cake. Enjoy the refreshing and exotic flavors as
they transport you to a beachside vacation...sunscreen is optional.
Summertime means
relaxing on the beach with your toes in the sand and an ocean breeze blowing
your hair. It also means we tend to
crave those bright, tropical flavors that make summer, well...so summery.
So today I have for you a gluten-free and sugar-free coconut cake. Enjoy the refreshing and exotic flavors as
they transport you to a beachside vacation...sunscreen is optional.
8 Eggs
2 tsp Cream of Tartar
1/2 Cup Coconut Oil
6 tbsp Honey
1/2 Cup Coconut Flour
1 tsp Vanilla Extract
2 tsp Cream of Tartar
1/2 Cup Coconut Oil
6 tbsp Honey
1/2 Cup Coconut Flour
1 tsp Vanilla Extract
1 tsp Coconut Extract
2 tsp Orange Extract
2 tbsp Coconut Shreds
1/2 tsp Baking Soda
1/4 tsp Himalayan Salt
1/2 tsp Baking Soda
1/4 tsp Himalayan Salt
Preheat oven to 350°F. Grease one round 9 inch pan.

Separate eggs, putting all the yolks in a small bowl and all the egg whites in a large bowl. To the egg whites, add the cream of tartar then whip together until stiff peaks form.

In a separate bowl, cream together honey and coconut oil. Then add the egg yolks to the creamed mixture and mix well.

To the creamed ingredients, add the
coconut flour, extracts, baking soda, and salt.Mix until fully combined.
 Gently fold the batter a little at a time into
the egg whites. Continue this process until they are completely mixed together.
Gently fold the batter a little at a time into
the egg whites. Continue this process until they are completely mixed together.
Pour the mixture into the prepared cake pan.
Bake for 20 minutes or until a toothpick comes out clean.
Coconut Chunk
Whipped Frosting
1 Cup Whipping Cream
½ Cup CoconutButter or Manna
1 Cup
Powdered Xylitol


Friday, July 11, 2014
Vanilla Butterscotch Blondie Brownies!


Earlier this week I posted my Maple Almond Blondies recipe,
though for some reason I named them brownies you’ll have to forgive me for
mistaking my blondes for brunettes.
The Maple Almond Blondies (Brownies) are not
only healthy but so yummy too. We'll continue with the blondie theme only
now we will add two of my most favorite flavors.
Vanilla + Butterscotch = HAPPINESS in a bite!
Here’s what you’ll need…
1 1/2 Cups Brown Sugar
½
Cup Butter
2 Eggs
1 1/2 Cups Flour
½ tsp Baking Powder
½ tsp Salt
1 cup Butterscotch Chips
Preheat oven to 350°. Grease a 13x9 glass baking dish and set aside.

In a large mixing bowl, beat
the brown sugar, butter, eggs and vanilla until creamed.
In a separate bowl, combine flour, baking powder and salt. Add the flour mixture a little at a time into the creamed sugar, making sure to mix well between each addition.

Fold in the butterscotch chips.
Spread into the prepared pan and bake for
20 - 25 minutes. Allow to fully cool
before topping.


Whipped Butterscotch Topping

1
Cup Heavy Whipping Cream
4
oz Mascarpone Cheese
3
tbsp Powdered Sugar
3
tbsp Butterscotch Flavor
3
tsp Vanilla Extract

Whip in mascarpone
cheese in three separate portions, whipping until smooth between each
addition. Add in the sugar and flavorings
then continue to whip until everything is fully combined.

Top the cooled brownies, serve and enjoy!

Wednesday, July 9, 2014

Monday, July 7, 2014
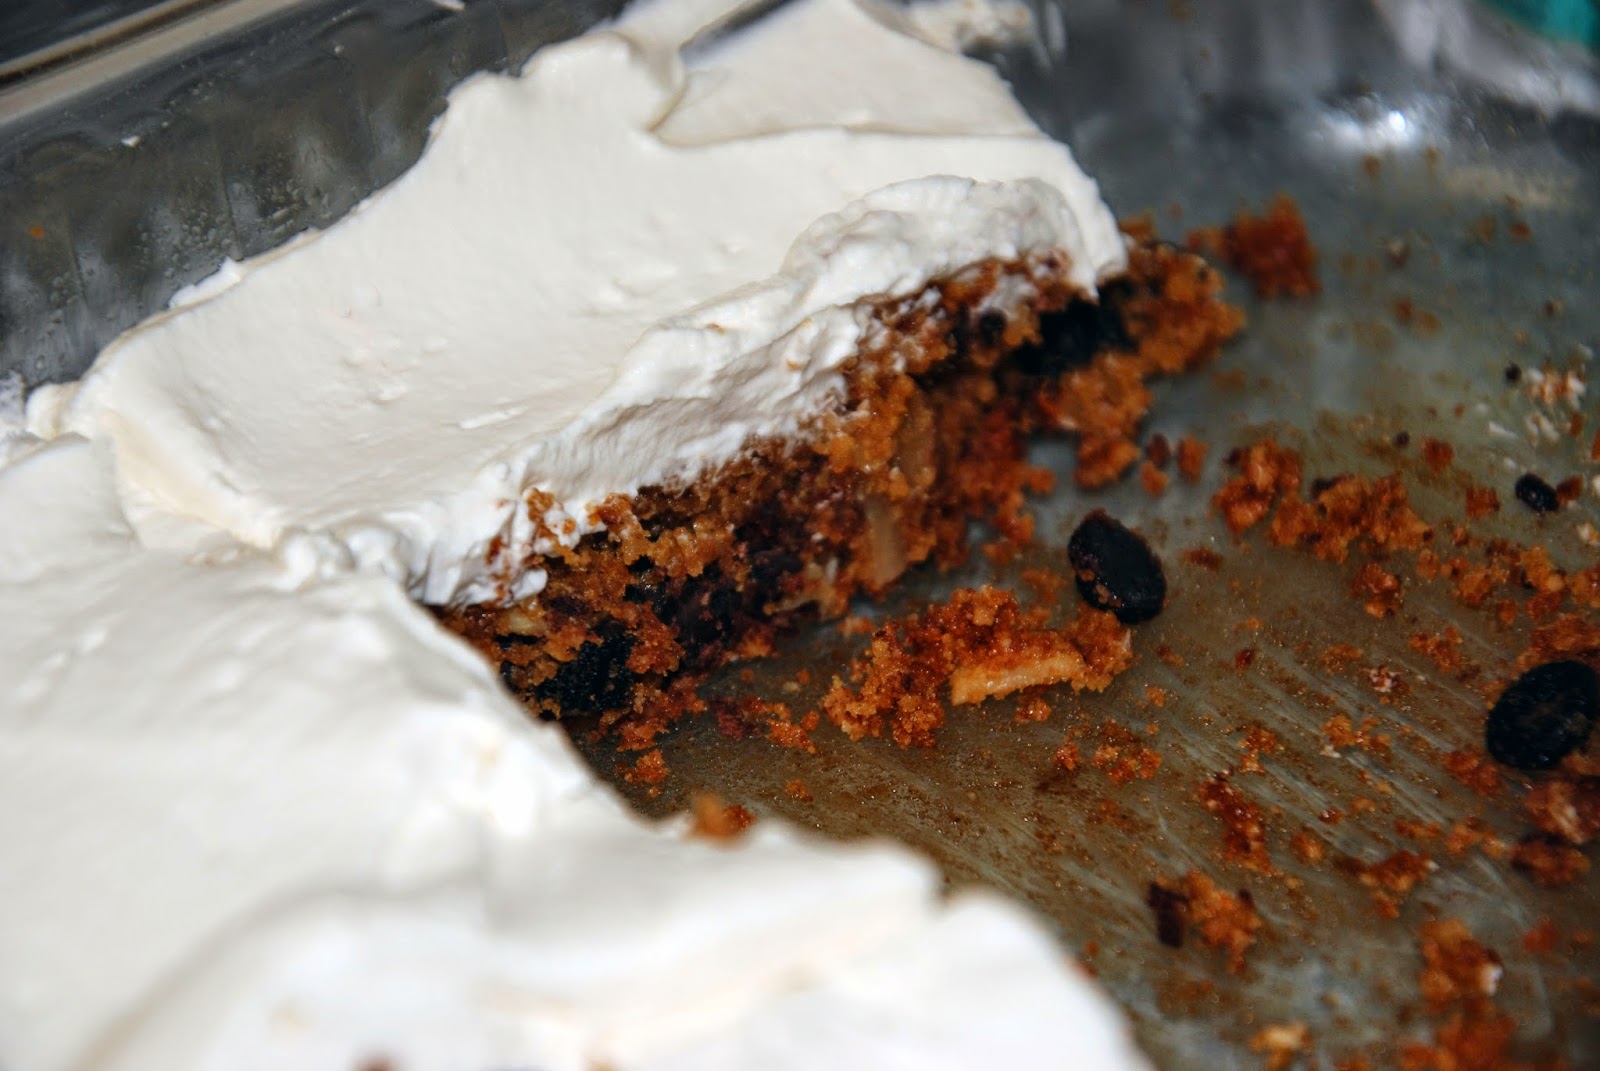
Maple Almond Brownies

Some things just go together like
peanut
butter and jelly!
So today’s recipe will be combining two
delicious flavors: maple and almond. Each is wonderful by themselves but when they
are combined...magic happens.
1/2
cup Butter
3/4
cup Coconut Sugar
2
Eggs
2
tsp Almond Extract
1
3/4 Cup Almond Flour
1
tsp Baking Powder
1/2
tsp Himalayan Salt
1 Cup Stevia Chocolate Chips
1/2
cup Sliced Almonds

In a medium-sized bowl using an electric
mixer, cream together the butter and sugar. Add in the eggs and almond extract, then mix
on high until light and fluffy. This
should take about 3 minutes.

Next add in the almond flour, baking powder, and salt. Mix well until fully combined. Stir in the chocolate chips and sliced almonds.

Pour the brownie mixture into the
prepared baking pan and bake for 20-25 minutes or until golden brown. Allow to cool completely before icing with
whipped maple topping

Maple Whipped Topping
1
Cup Heavy Whipping Cream
4
oz Mascarpone Cheese
2
tbsp Maple Syrup
In a chilled medium-sized bowl, whip the heavy cream until stiff peaks form. Whip in mascarpone cheese in three separate intervals, being sure to completely whip in each addition until the cheese is smooth and blended into the cream.

Add in the liquid stevia and maple syrup then whip some more until everything is completely combined.
Friday, July 4, 2014
Blueberry Lemon Cake


A
truly good baker doesn’t believe that they are the only one out there with
recipes worthy of posting online. In my
opinion, baking and cooking is an art form, and a truly great artist relishes finding
fellow artisans and sharing their creations with others!
This week I’m featuring a recipe from
Sally’s Baking Addiction that I think everyone should check out. It’s a perfect combination of tangy lemon and
sweet, refreshing berry flavors.
It is amazing
as is! However this past weekend when I
made it, I tweaked a few things since I didn’t have all the ingredients on hand
that were called for. So instead of using
blueberries, I used organic locally grown blackberries which I felt were
delicious in this recipe. I also made a
traditional buttercream frosting and added one teaspoon of lemon extract…the
end result was a WOW moment!
Check out Sally's website by clicking on the link below.
Wednesday, July 2, 2014

Subscribe to:
Posts (Atom)